
Safety Protocols
This page is purely educational, and not intended to provide medical advice or training.

Feeding and Swallowing Problems
Feeding and swallowing problems can be highly prevelant among certain diagnoses within the OI population, such as cerebral palsy (CP).
- ~50% of people with CP suffer from swallowing problems
- >50% of people with CP suffer from feeding problems (Speyer, et. al., 2019)
Swallowing problems, also known as dysphagia, can put students at an increased risk for choking and aspiration pneumonia (Khamis, et. al., 2018).
- Aspiration pneumonia is the leading cause of death in people with CP
- Dysphagia can be progressive with age, causing an even greater increased risk for choking, coughing, and respiratory health concerns (Speyer, et. al., 2019).
Safe Feeding Practices
Receive training from the speech and language pathologist and/or occupational therapist in order to learn how to position individual students for safe feeding.
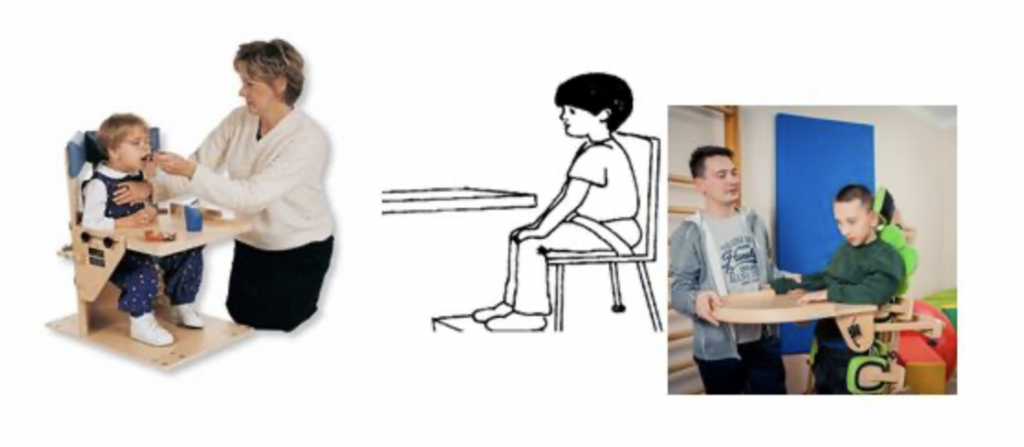
In general, during feeding students should be positioned:
- Upright and in a comfortable seat
- With their head upright and the chin slightly tucked in
- A rolled up towel or cushion can be used to help provide support for students with poor head control
- With their arms and shoulders forward and resting
- If sitting, their hips, knees, and ankles should be at a 90 degree angle
- With their feet supported
Staff, teachers, and caregivers feeding the student should:
- Wash their hands and wipe off the face of the student
- Sit directly across from the student to ensure:
- An improved social experience
- Clear visualization of the tongue, lips, mouth, and position of the head
- Sit as close to the child as possible
- Sit at the same height as the student, to ensure that the student is not looking up at them
- Be aware of how to quickly remove straps and extricate student from chair or stander
- NEVER leave the student unsupervised
Click here for more information on feeding students with CP
Recognizing Choking
Signs of choking include:
- Inability to talk
- Trouble breathing
- Noisy or squeaky breathing
- A strong or weak cough
- Bluish or dusky lips, skin, or nails
- Skin that flushes then turns blue or dusky
- Unconsciousness
Choking First Aid
If a student is choking but is coughing forcefully, encourage them to continue coughing to dislodge food from the throat.
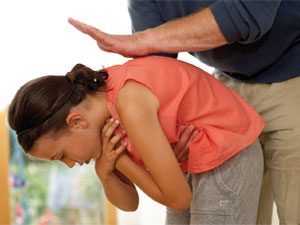
If the student cannot breath or talk, perform 5 back blows:
- Wrap your arm around the students chest and lean them forwards so they are parallel with the ground
- Use your other hand to firmly deliver a blow between the shoulders
- If the food does not dislodge after 5 back blows, begin abdominal thrusts
To perform abdominal thrusts:
- Wrap your arms around the students waist and lean them forwards
- Make a fist with one on your hands, and position it with your thumb above their belly button, below the breast bone
- Grasp your fist with your other hand
- Quickly thrust your fist up into the abdomen, as if trying to lift the student
- Alternate between 5 back blows and 5 abdominal thrusts until the food is dislodged or the student falls unconscious
- If the student falls unconscious, begin CPR
Seizures
Seizures are another common comorbidity for students with CP
- ~40% of all people with CP are also diagnosed with seizures or epilepsy (Pavone, et. al., 2020)
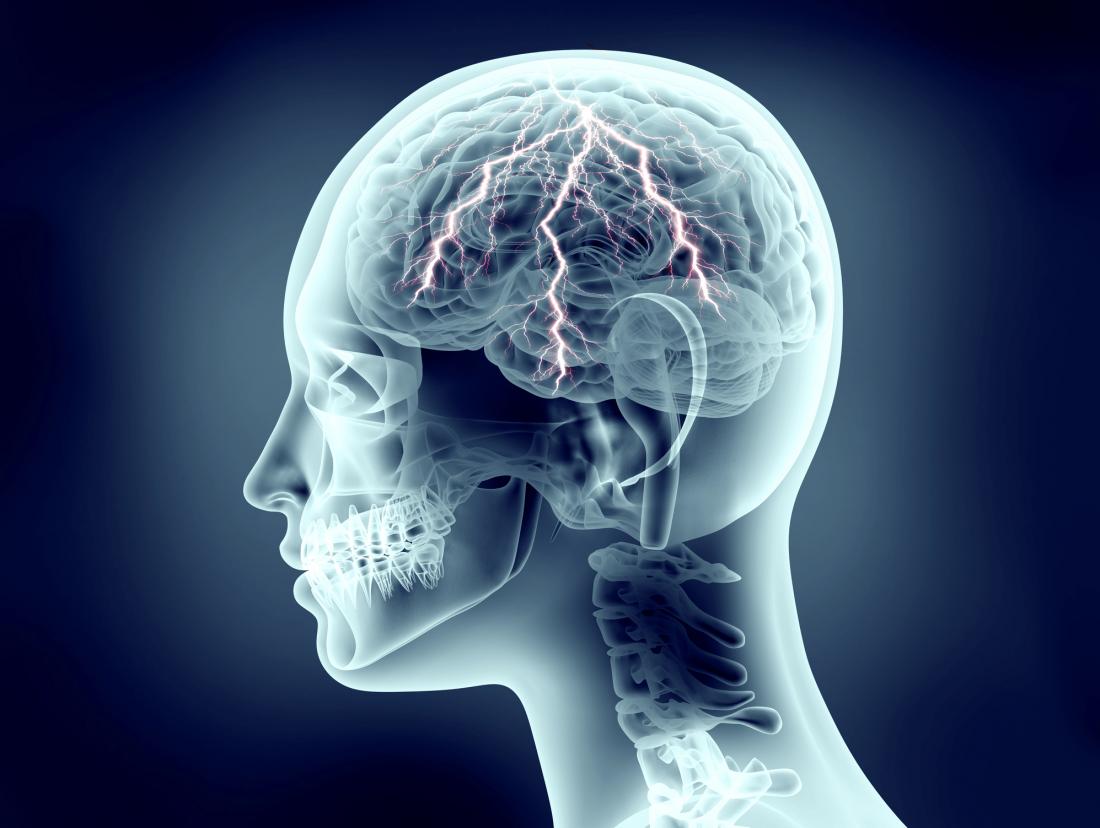
Epilepsy is a chronic disorder that is characterized by repeated, unprovoked seizures.
- Seizures occur when there is a sudden, abnormal, and unregulated discharge of electrical activity in the cells of the brain. They cause:
- Altered consciousness
- Irregular sensations
- Impaired memory
- Abnormal movement
- Convulsions
- Unusual behavior
- Impaired autonomic functioning
- Seizures have four phases:
- The prodromal or early warning phase
- The predictal/aura phase, which occurs directly before the seizure
- Students may be aware that a seizure is about to happen during this phase
- The ictal phase, which is when the seizure actually occurs
- The postictal phase, which is the recovery period
- Seizures can occur for only a few seconds, or can last minutes or more.
- A prolonged seizure is known as status epilepticus
- Can result in brain damage
- Can be life-threatening
Types of Seizures

There are different types of seizures with varying symptoms
Partial seizures occur only in 1-2 areas of the brain and are in the same hemisphere–previously known as focal seizures. Partial seizures can be: simple, complex, or complex partial with secondary generalization.
Generalized seizures occur in both hemispheres of the brain and effect the entire body. They can take the form of: tonic-clonic, absence, myoclonic, infantile spasms, or atonic.
Mixed seizures can occur when a seizure begins as a partial seizure, and ends as a generalized seizure.
Seizure First Aid Protocol
If a student is having a seizure, practitioners and staff should:
- Stay calm and keep others calm.
- Keep the student safe, and help to prevent injuries. Make sure that there is nothing that the student can injure themselves on and place a pillow or something soft under their head.
- Keep track of when the seizure starts and ends. Call 911 if:
- This is the student’s first seizure
- The seizure lasts more than 5 minutes
- Place the student on their side and keep them comfortable by removing any tight clothing or jewelry around the neck and/or chest.
- DO NOT put anything into the student’s mouth!
- When the seizure is over contact the student’s parents and the school nurse.
Falls

Reduced muscle strength and balance can put students in the OI population at an increased risk for falling.
- Declining mobility may put older students at a greater risk of falling.
- Severe falls or poor bone health can lead possible broken bones
How to Identify Broken Bones
Signs of a broken bone can include:
- Severe pain in the wounded area that worsens with movement.
- It is also possible the area will feel numb.
- A bone that protrudes through the skin or a visible deformity.
- Bluish or dusky color to the skin.
- Heavy bleeding
Broken Bone First Aid
In the case of a broken bone practitioners should perform first aid and call emergency medical services:
- If present, stop any bleeding. Elevate the site of injury and apply pressure with a clean, sterile bandage.
- Always use universal precautions when handling blood
- Immobilize the site of injury
- If the injury is to the head, neck, or spine keep the student as still as possible
- If the injury is to an extremity, apply a splint or sling
- Do not allow the student to move until the broken bone is stabilized
- Apply ice or an ice pack to the injury, though never directly on the skin–use a cloth as a barrier.
- Have the student lay down on their back and elevate their legs 12 inches above their head to prevent shock.
- Cover them with a blanket or jacket.
- If the student is unconscious, call 911
- Begin CPR if they are not breathing